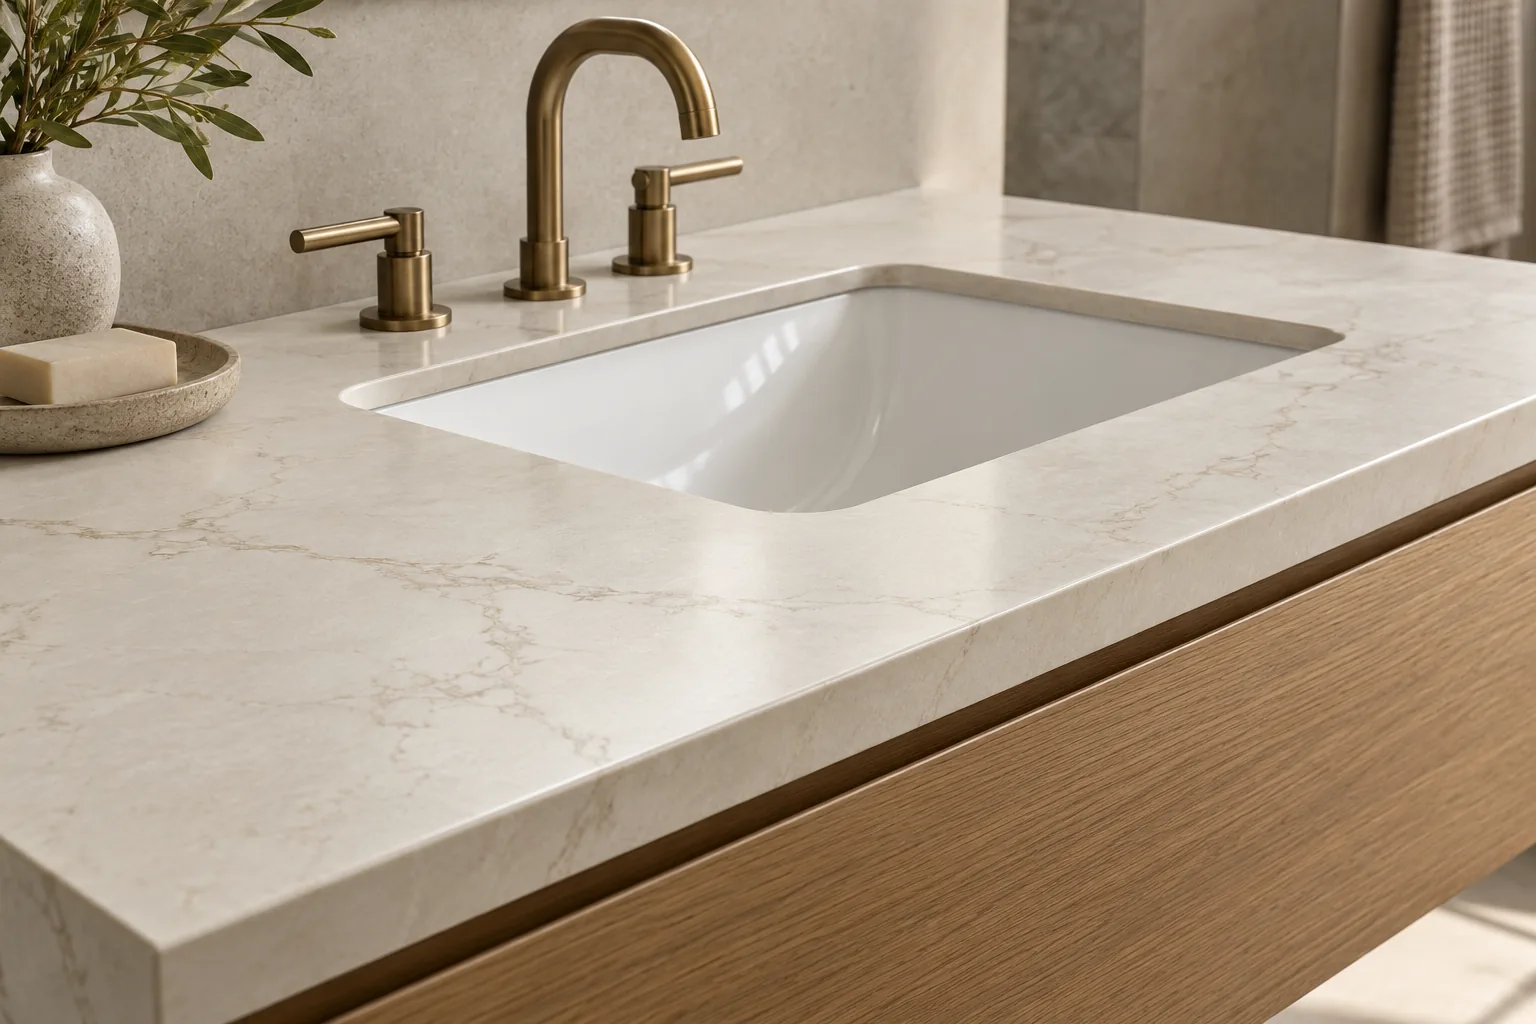
Bathroom slabs and tiles need to work around water, cleaning access and closely spaced fittings. A large wall panel can reduce the number of field joints, but corners, penetrations and movement joints remain design decisions. Treat the vanity, shower enclosure and dry-area floor as separate assemblies with a coordinated visual palette. This makes it easier to specify the right evidence for each surface without assuming that one attractive finish belongs everywhere.
Wall and vanity dimensionsBasin templates, taps and access pointsWaterproofing and substrate coordination
Illustrative interior · not a completed customer project
01 / Planning notes
Separate the surface from the assembly
A surface choice does not by itself confirm the performance of a complete wet-area system. The designer and installer should review waterproofing, backing, joints, penetrations and fixing details for the intended application.
02 / Planning notes
Coordinate openings before approval
Provide basin and tap templates, finished dimensions, splashback details and service access. Resolve corners, returns and transitions between materials before preparing finished components.
03 / Planning notes
Plan the visual sequence
Review the positions of panels, niches and vanity faces together. Confirm the approved sample and any requirements for directional patterns, adjacent pieces and replacements.
AI-generated design illustration; not a supplied product or completed project.
Begin the setting-out drawing from the most visible wall rather than dividing every wall into equal strips. Locate the shower screen channel, niche perimeter, towel rail and access hatch before choosing panel breaks. A narrow strip beside a niche may be difficult to handle and can interrupt a directional pattern. Show inside and outside corners in section, including which edge is exposed and how the adjoining panel meets it. Where a specialist specifies movement joints, keep them visible in the layout rather than removing them to imitate a seamless inspiration image.
Dimension the niche opening and each return separately.
Locate screen fixings before panels are fabricated.
02
Give the vanity a serviceable detail
AI-generated design illustration; not a supplied product or completed project.
A vanity drawing should explain more than the basin hole. Coordinate the basin rim, waste connection, tap reach, wall splashback and any upstand. Leave the responsible trades access to fasteners and water connections, especially where a drawer or rail sits directly below the top. If a matching slab front conceals the basin, show how that front can be fitted and removed. Any formed or assembled basin needs its own fabrication and sealing specification; choosing the same decorative surface does not establish how the water-holding assembly performs.
Show basin, tap and waste references on one section.
Check drawer movement and maintenance access.
03
Select each finish for its actual cleaning routine
AI-generated design illustration; not a supplied product or completed project.
A wall finish and a shower floor face different demands. Before extending one model across both, request relevant test information for the exact finish and ask the project professional to review the local slip requirement. Compare cleaning access around fittings, grout colour, water marks and the cleaning chemicals used by the owner or hotel operator. A textured sample should be reviewed with a practical cleaning trial where appropriate. Record the accepted cleaning method for the installed surface and its joints so housekeeping does not rely on a generic material claim.
Distinguish shower, dry floor and vertical wall finishes.
Review the real sample under vanity and shower lighting.
BATHROOM SURFACE PLANNING
Bathroom interface checklist
Bathroom interface checklist
Element
Design decision
Information to provide
Shower niche
Returns, drainage detail and joint alignment
Niche section and finished opening
Vanity top
Basin rim, tap reach and service clearance
Basin template and cabinet section
Shower screen
Track position and fixing penetration
Screen supplier installation detail
Floor transition
Threshold, joint and approved finish
Floor build-up and relevant finish report
Sintered Stone & Porcelain Bathroom Surfaces
Questions buyers ask
Do large bathroom panels mean the room has no joints?+
No. Panel joints, perimeter details and movement provisions still need to be designed. A large panel changes the setting-out options rather than removing those requirements.
Can a bathroom wall model also be used on the shower floor?+
Check the actual model, finish and applicable wet-area floor requirements. A wall photo or a matching colour is not proof of floor suitability.
What should be confirmed for a concealed vanity front?+
Confirm access to the trap and fixings, the support arrangement and the removal method. Include those details in the cabinet and surface drawings before ordering components.
LET’S START A CONVERSATION
Your next project
starts with a surface.
Tell us what you are sourcing. We will help turn your requirements into a clear product enquiry.